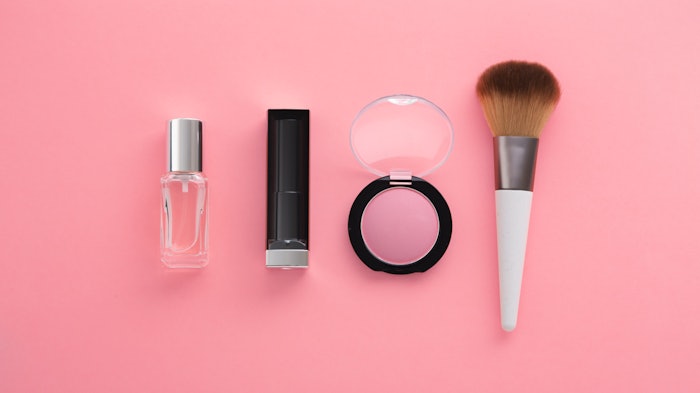
High-quality product photographs play a key role in attracting potential buyers and driving sales. From traditional techniques to advanced automation, different solutions are available to meet varied needs. Here are 10 top product photography solutions that can help you master product photography.
1. Use Assembo.ai to Create Custom Backgrounds

Use Assembo.ai to Create Custom Backgrounds
How It Works:
- Upload product image
- Generate background
- AI blends automatically
Why Assembo.ai?
- Time and cost-efficient
- Consistent quality
- Easy updates for different trends
- Diverse scene options
Versatility of Assembo.ai
- Choose from various background styles to match your brand.
- Create seasonal themes effortlessly.
- Adjust colors and textures to enhance product appeal.
- Generate high-resolution images suitable for any platform.
Benefits for Businesses
- Save time and resources by automating background creation.
- Maintain a cohesive visual style across all product photos.
- Easily update backgrounds for new collections or campaigns.
- Ensure consistent quality without needing professional photography skills.
2. Traditional Studio Photography

Importance of Lighting
- Use softboxes to eliminate harsh shadows.
- Implement continuous lighting for consistent shots.
- Apply diffusers for even light distribution.
- Experiment with backlighting for dramatic effects.
Key Equipment
- High-resolution camera for detailed shots.
- Macro lens for small product photography.
- Tripod to maintain stability.
- Reflectors to manage light and shadows.
3. 360° Product Photography
![]()
Professional 360 Spin Turntable Solutions
Benefits of 360° Photography
- Provide a detailed view of the product from all angles.
- Enhance customer confidence with comprehensive visuals.
- Reduce returns by giving a complete product overview.
- Create interactive user experiences.
Equipment Needed
- Motorized turntable for smooth rotation.
- Consistent lighting setup to avoid shadows.
- Software for stitching images together.
- High-resolution camera for clarity.
4. Automated Product Photography Solutions

Top 10 CGI Product Photography Software in 2024
Efficiency of Automation
- Speed up the product photography process.
- Ensure consistent quality across all images.
- Simplify post-production editing.
- Reduce the need for professional photography skills.
Types of Automated Solutions
- AI-powered background removal.
- Automatic focus stacking for depth of field.
- Pre-set lighting conditions.
- Integrated software for easy publishing.
5. The Importance of Post-Processing
How to Control Reflections on Jewelry Photos
Key Retouching Techniques
- Color correction to match real-life tones.
- Removal of backgrounds for a clean look.
- Focus stacking to enhance sharpness.
- Retouching of minor product imperfections.
Software Recommendations
- Adobe Photoshop for detailed editing.
- Lightroom for batch processing.
- GIMP for a free alternative.
- Capture One for advanced color grading.
6. Utilize Natural Light

Natural Product Photography Tips
Tips for Using Natural Light
- Shoot during golden hours for soft light.
- Use diffused sunlight to avoid harsh shadows.
- Reflect light to fill in dark areas.
- Adjust camera settings to accommodate light changes.
Advantages
- Cost-effective as it doesn't require additional equipment.
- Creates a natural and authentic look.
- Simple setup – just a window and a reflector.
- Flexible and easy to experiment with.
7. Creative Background Ideas

Our Top 10 Product Photography Ideas
Types of Backgrounds
- Solid colors for a minimalist look.
- Textured backgrounds for added depth.
- Seasonal themes for holiday marketing.
- Photo collages for dynamic presentations.
DIY Backgrounds
- Use everyday items like paper or fabric.
- Create bokeh effects with string lights.
- Incorporate natural elements like leaves or flowers.
- Experiment with props for a unique touch.
8. Jewelry Photography Tips

Preparing Your Jewelry
- Clean and polish the pieces thoroughly.
- Avoid fingerprints and dust.
- Use gloves to handle delicate items.
- Secure them in place with non-damaging adhesives.
Equipment for Jewelry Photography
- Macro lens for close-ups.
- Soft lighting to reduce reflections.
- Lightbox for consistent lighting conditions.
- Tripod to stabilize the camera.
9. Composition Techniques

Effective Composition Techniques
Rule of Thirds
- Position the product off-center for balance.
- Use grid lines to frame the shot.
- Create visual interest with asymmetry.
- Balance the elements in the frame for harmony.
Leading Lines
- Guide the viewer’s eye to the product.
- Use props and backgrounds for direction.
- Experiment with diagonal and curved lines.
- Add depth and focus to the composition.
10. Experiment with Angles
Top-Down Shots
- Highlight unique product features.
- Showcase product symmetry.
- Emphasize packaging details.
- Use flat lay for complementary items.
Side Angles
- Show product depth and dimensions.
- Capture textures and materials.
- Play with light and reflections.
- Emphasize design elements and labels.
Final Thoughts
Mastering product photography requires practice, creativity, and the right tools. By utilizing these solutions, you can create stunning product images that attract customers and enhance your sales.


