
Creating a great product photography set up is key for any online business. Your product photography set up can make or break your sales. No matter if you're just starting out or looking to improve, a good product photography set up is important. With the right product photography set up, you can take photos that look professional and make your products shine. In this guide, we'll walk through 12 key ideas for your product photography set up. Let's dig in to how you can build a product photography set up that works for your space and budget.
1. Start With a Simple Table Setup
Your product photography set up begins with a stable surface. A simple table gives you a base to work from and makes it easy to arrange your products and background.
- Key table features:
- Choose a table 24-27 inches wide for most products.
- Make sure it's stable and doesn't shake.
- Cover it with your background material for a seamless look.
Learn more about table setup options from Shopify's guide.
2. Create a Clean White Background
A white background is a classic choice for product photos. It keeps the focus on your product and makes editing easier.
- Background options:
- Use white poster board from a local art store.
- Invest in a paper sweep for frequent shooting.
- Make sure the background curves smoothly from vertical to horizontal.
See how BigCommerce recommends setting up backgrounds.
3. Use Natural Light from Windows
Natural light is free and can give you beautiful results. Setting up near a window gives you soft, diffused light that makes products look great.
- Natural light tips:
- Position your setup next to a large window.
- Shoot during daytime when light is brightest.
- Use a white reflector to fill in shadows.
Find more natural light techniques from Adobe's guide.

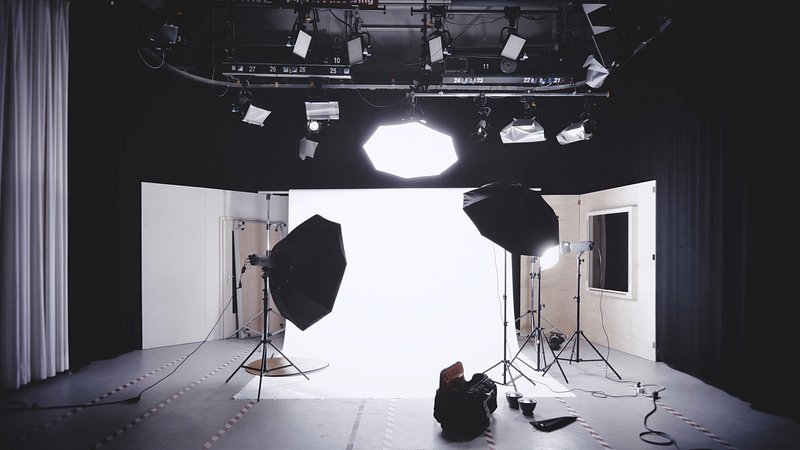
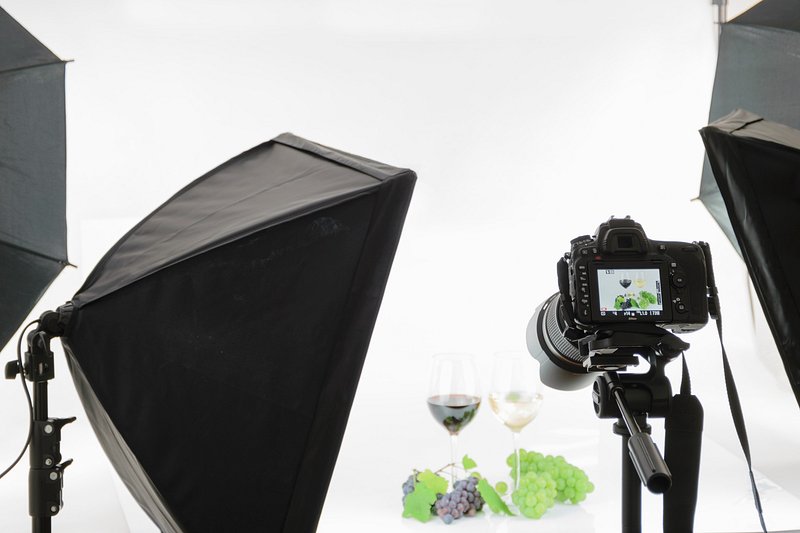
4. Set Up Artificial Lighting
When natural light isn't enough, artificial lights give you full control. Softboxes are a popular choice for product photography.
- Lighting setup:
- Use two softbox lights for even illumination.
- Position one as key light and one as fill light.
- Adjust the distance to control shadow softness.
Read about continuous lighting systems from Digital Photography School.

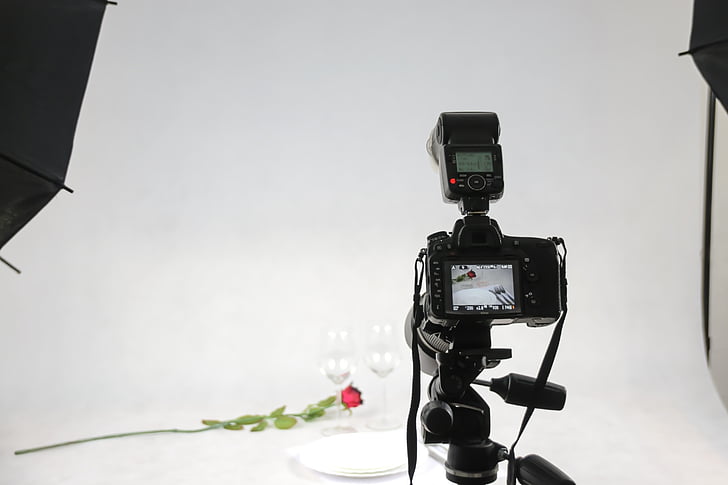
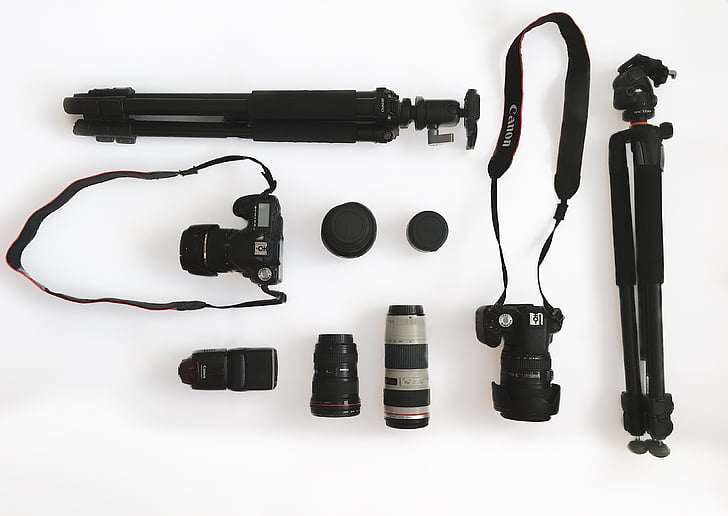
5. Choose the Right Camera and Tripod
Your camera choice affects your photo quality, but you don't need the most expensive equipment. A tripod keeps your camera steady for sharp images.
- Camera and tripod tips:
- Start with whatever camera you have, even a smartphone.
- Use a tripod to prevent camera shake.
- Set your camera on manual mode for best control.
Learn camera settings from BigCommerce's photography guide.

6. Use Assembo.ai to Create Custom Backgrounds
Assembo.ai is a great tool that can help with your product photography set up. You can try Assembo.ai AI product photo and video features to create custom backgrounds without physical props.
- How Assembo.ai helps:
- Upload your product photos and change backgrounds instantly.
- Create professional-looking scenes without expensive equipment.
- Experiment with different settings quickly and easily.
Discover how AI tools can improve your product photos.

7. Build a DIY Lightbox
A lightbox creates soft, even lighting that minimizes shadows. You can make one yourself with simple materials.
- Lightbox construction:
- Use a cardboard box with the top and sides cut out.
- Cover the openings with white tissue paper or fabric.
- Place lights on both sides for even illumination.
See DIY lightbox instructions from Aby-Joanne Photography.

8. Add Reflectors for Better Light Control
Reflectors bounce light back onto your product to fill in shadows. They're simple to make and use.
- Reflector options:
- Use white foam board from a craft store.
- Try aluminum foil for a brighter reflection.
- Position reflectors opposite your light source.
Learn light control techniques from Two Loves Studio.

9. Experiment with Creative Backgrounds
While white backgrounds are standard, sometimes creative backgrounds can make your products stand out. Try different materials and colors.
- Background ideas:
- Use textured fabrics like linen or burlap.
- Try colored paper or cardstock.
- Use natural materials like wood or stone.
Get creative background ideas from Canva's guide.
10. Style with Simple Props
Props can help tell your product's story and show how it's used. Choose props that complement without distracting.
- Prop selection:
- Pick props that relate to your product's use.
- Keep colors coordinated and not too busy.
- Arrange props naturally around your product.
Find prop styling tips from Shopify's photography guide.
11. Shoot from Multiple Angles
Customers want to see products from all sides when shopping online. Capture different views to give them a complete picture.
- Angle variety:
- Take front, back, and side views.
- Include close-up shots of important details.
- Show the product in use if possible.
Learn about multiple angle techniques from Adobe.

12. Set Up Your Editing Station
Even great photos often need some editing. Basic edits can make your product photos look more professional.
- Editing basics:
- Adjust brightness and contrast.
- Correct colors to match the real product.
- Remove any dust spots or imperfections.
Discover editing techniques from BigCommerce's guide.
Final Thoughts
Creating a good product photography set up doesn't have to be complicated or expensive. Start with the basics: a stable surface, good lighting, and a clean background. As you practice, you can add more equipment and try new techniques. Remember that consistency is important - try to keep your lighting and background similar across all your product photos. This helps build a professional look for your brand. With these 12 product photography set up ideas, you have a solid foundation to create photos that make your products look their best and help you make more sales.