
Achieving the right lighting for product photography can make a significant difference in attracting customers and increasing sales. Proper lighting compliments the appearance of your products. We'll explore the best product lighting techniques and tools to help you sell your products effectively.
1. Understanding Natural Light
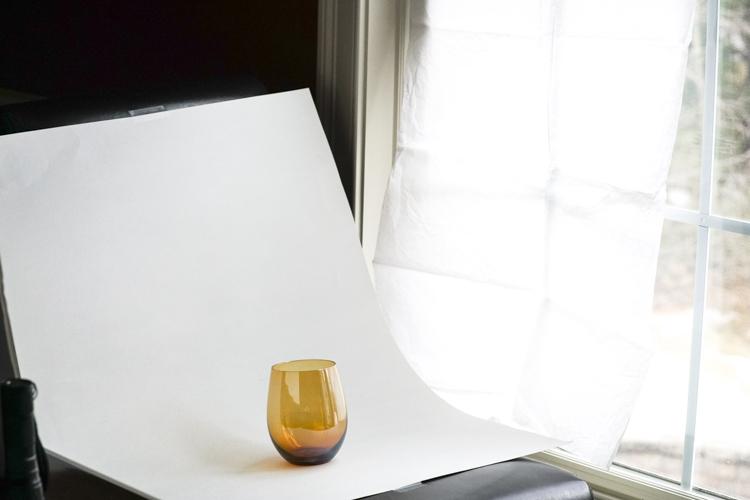
Natural light is a free and powerful source for product photography. It creates a soft and even illumination that enhances the details of your products.
Advantages of Natural Light
- Cost-effective: Natural light is free and readily available.
- Soft Shadows: Provides soft, natural shadows that enhance product features.
- Realistic Colors: Maintains the true colors of your products.
Understanding how to utilize natural light can improve your photos significantly.
Tips for Using Natural Light
- Shoot Near Windows: Position your products near a window for the best natural light.
- Use Reflectors: Bounce light back onto your products to reduce shadows.
- Time of Day: Shoot during the golden hours (early morning or late afternoon) for softer light.
- Weather Conditions: Overcast days can provide diffused lighting that reduces harsh shadows.
Product Recommendation
- Neewer 43 Inch/110 cm Light Reflector 5-in-1 Collapsible Multi-Disc with Bag: Buy on Amazon.
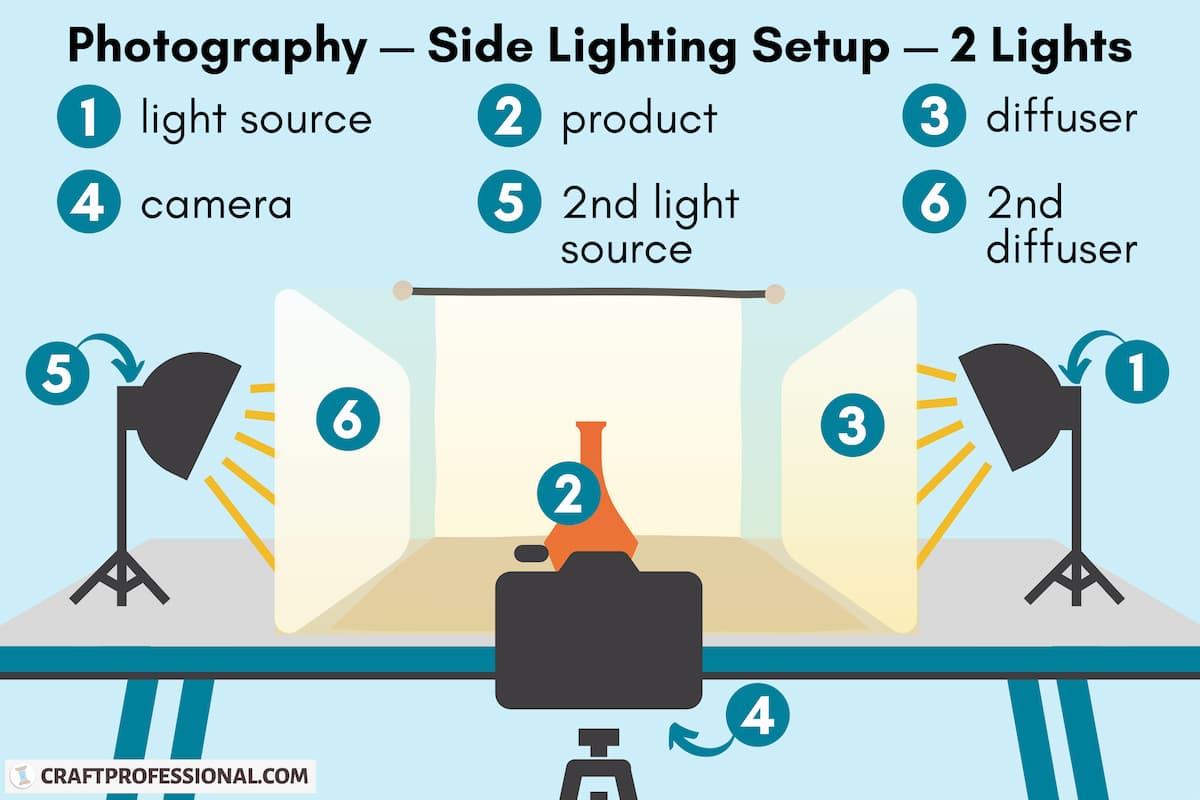
2. Studio Lighting Setup
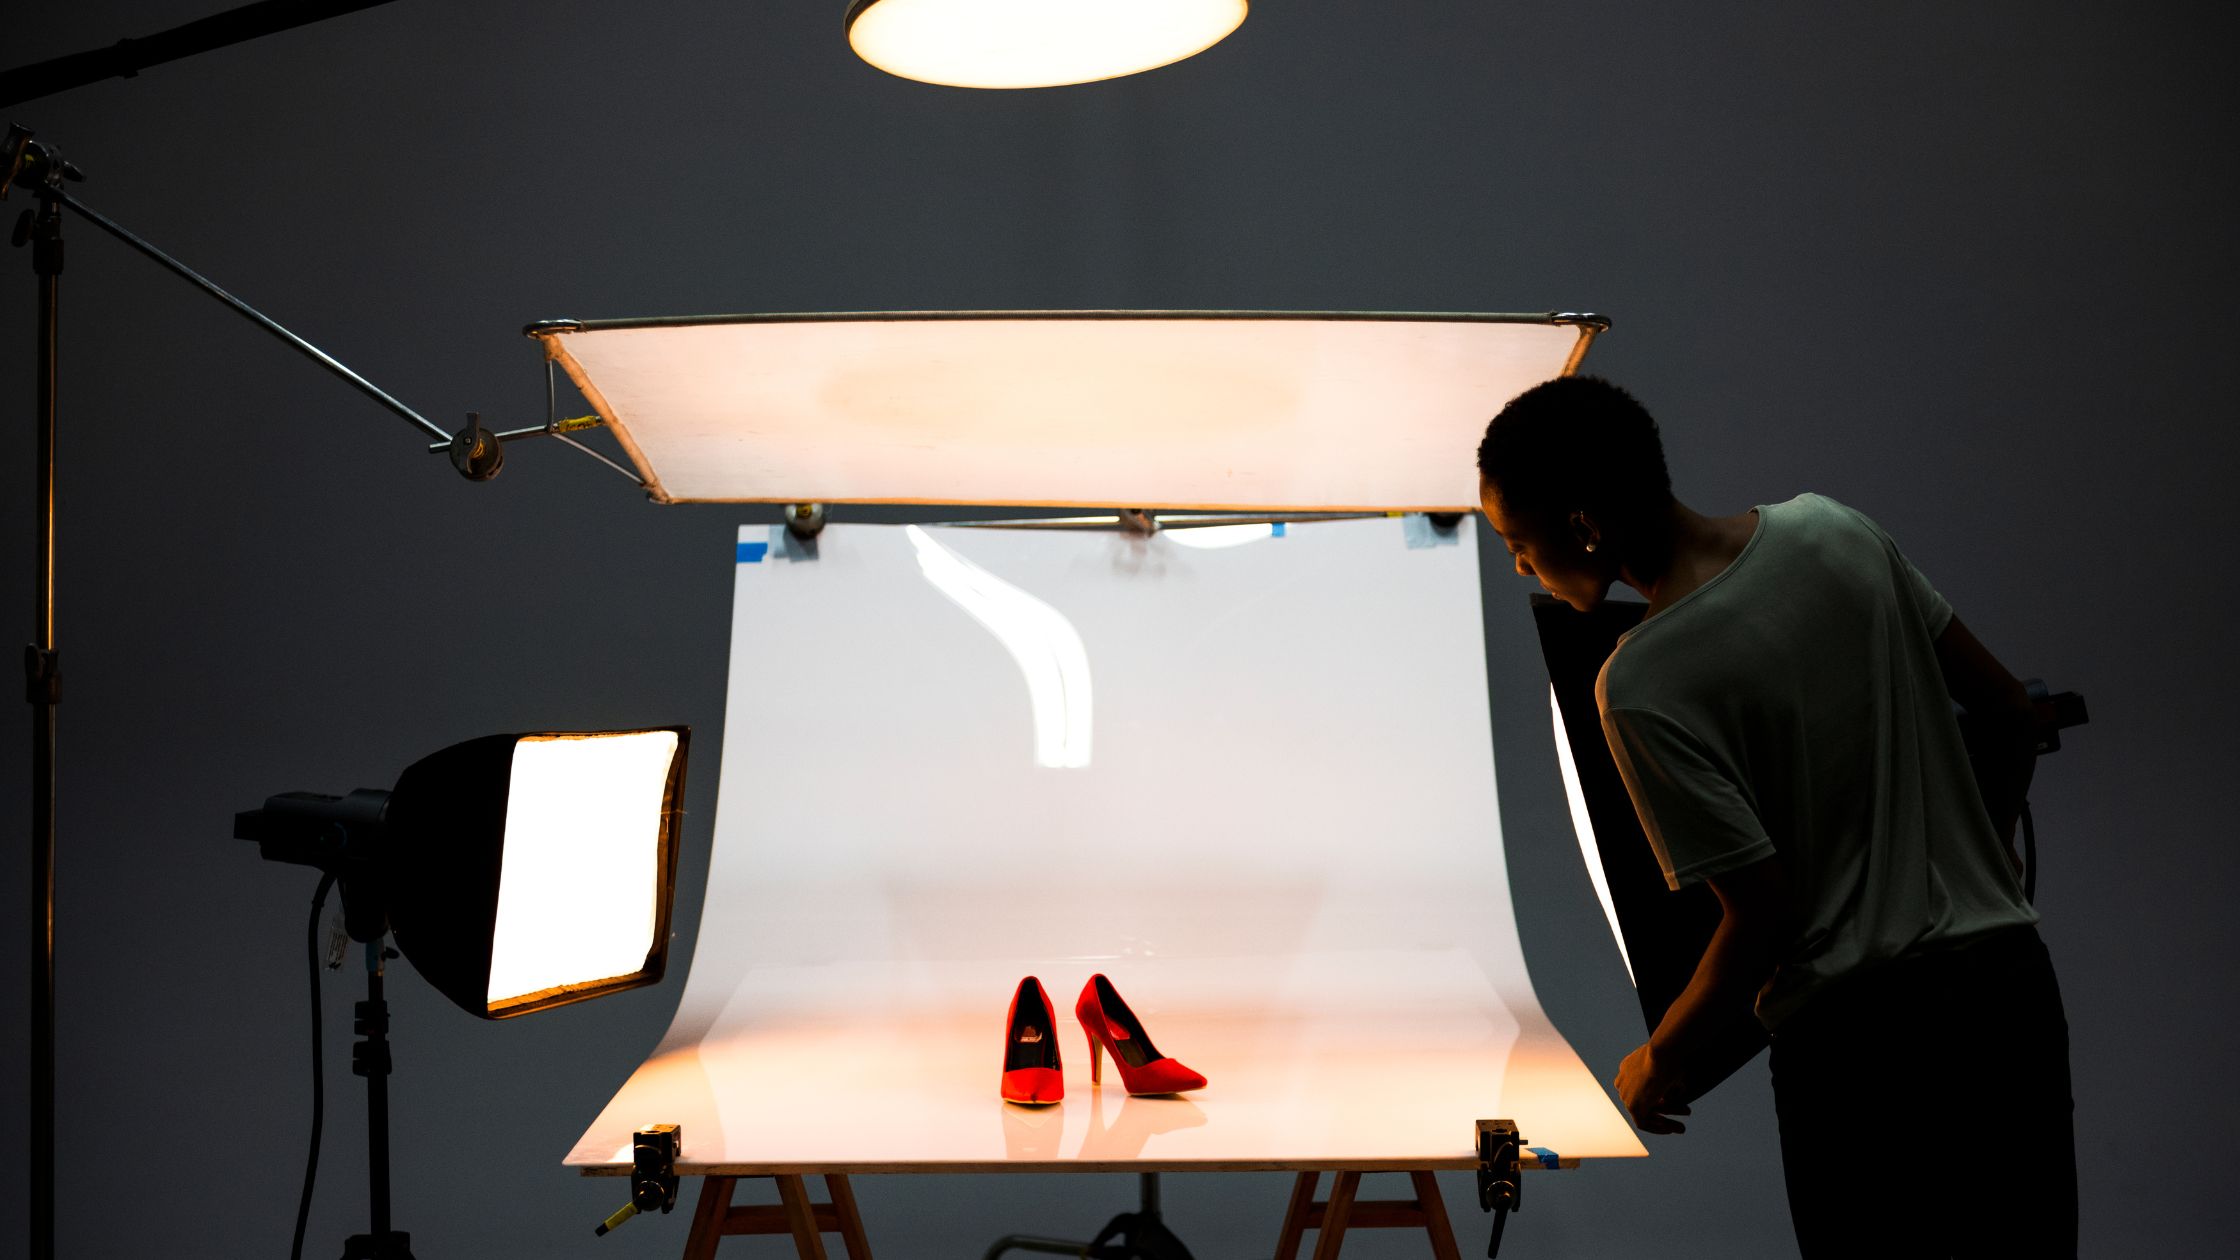
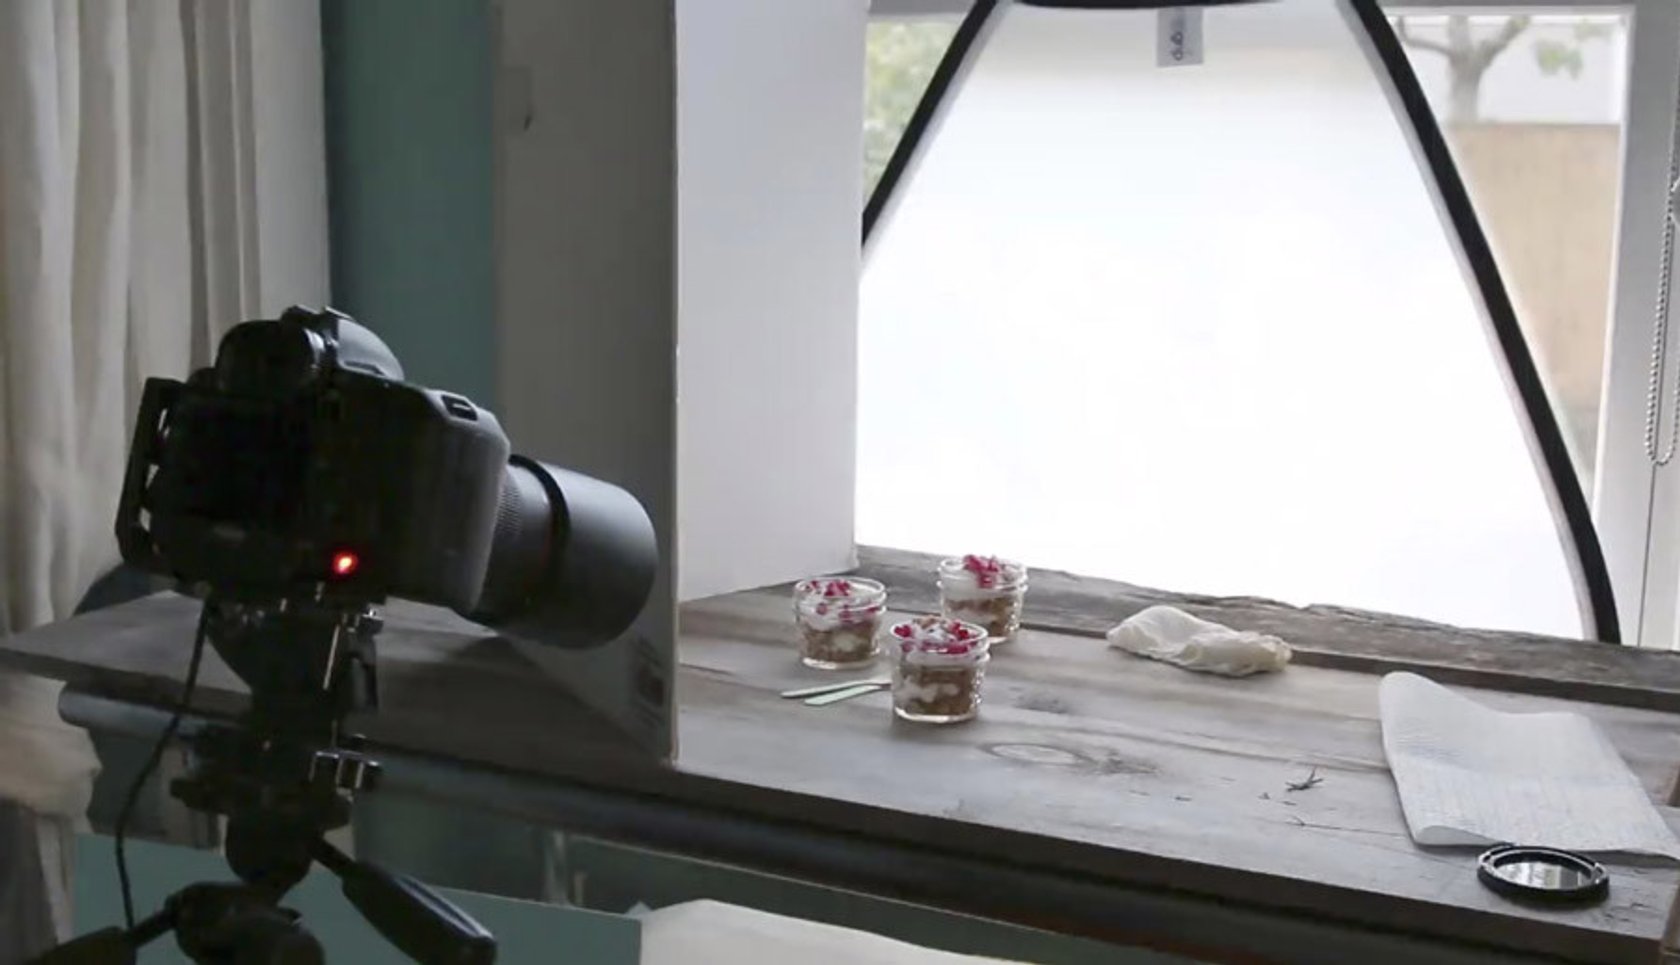
For more control over lighting, a studio setup is ideal. Studio lighting allows you to manipulate light to highlight the best features of your products.
Essential Studio Lighting Equipment
- Softboxes: Diffuse the light for a soft, even illumination.
- Umbrellas: Reflect light to reduce harsh shadows.
- LED Lights: Provide consistent and adjustable lighting.
Setting up a professional studio lighting can transform your product images.
Tips for Studio Lighting
- Three-Point Lighting: Use key light, fill light, and backlight for balanced lighting.
- Diffusers: Soften the light to avoid harsh shadows.
- Light Positioning: Experiment with light angles to find the best look for your products.
- Backgrounds: Use different backgrounds to complement the product and lighting setup.
Product Recommendation
- Neewer 700W Professional Photography Softbox Lighting Kit: Buy on Amazon.
- LimoStudio 700W Photography Softbox Light Lighting Kit: Buy on Amazon.
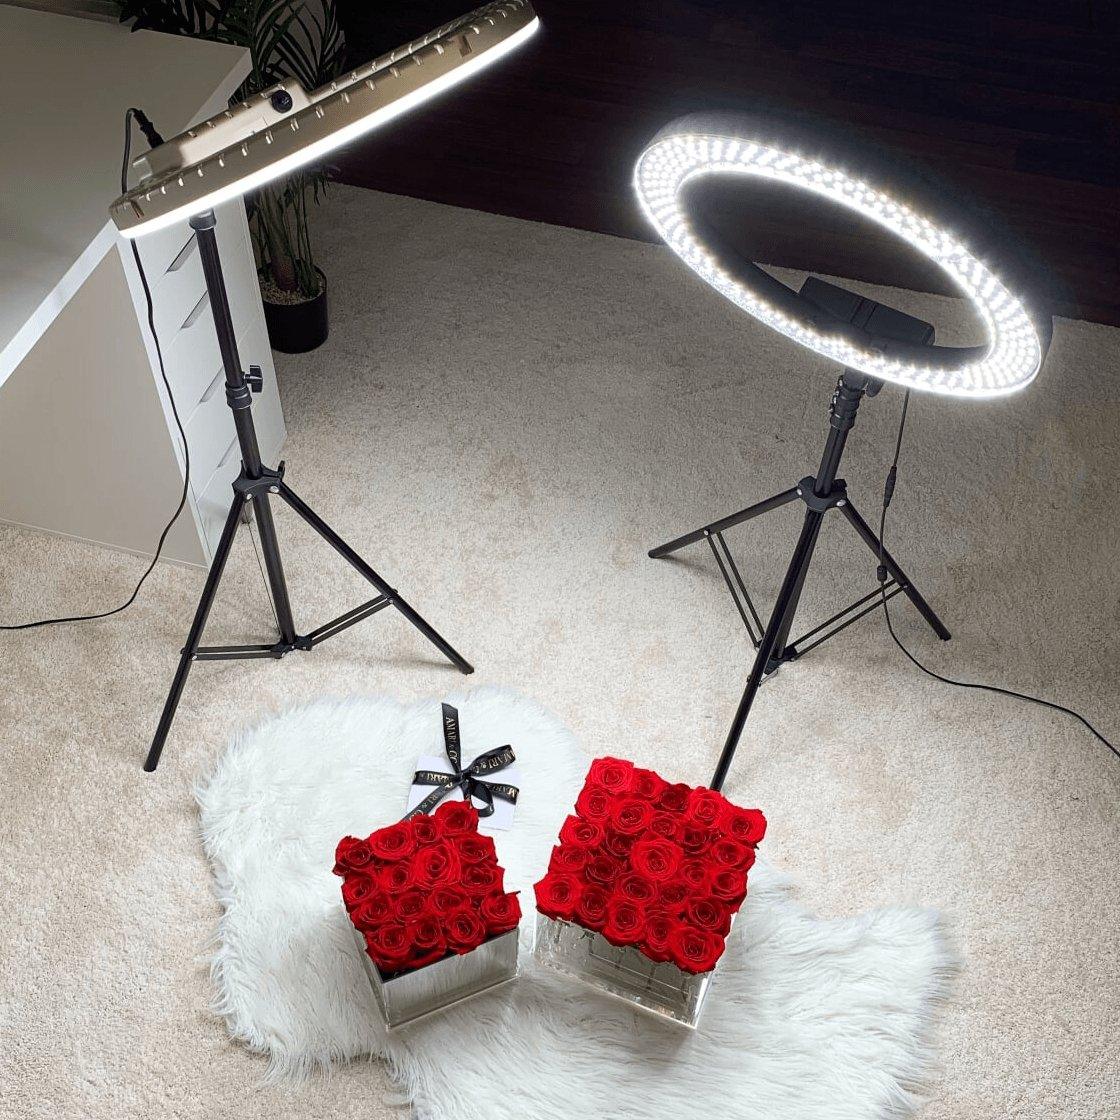
3. Ring Lights for Close-ups
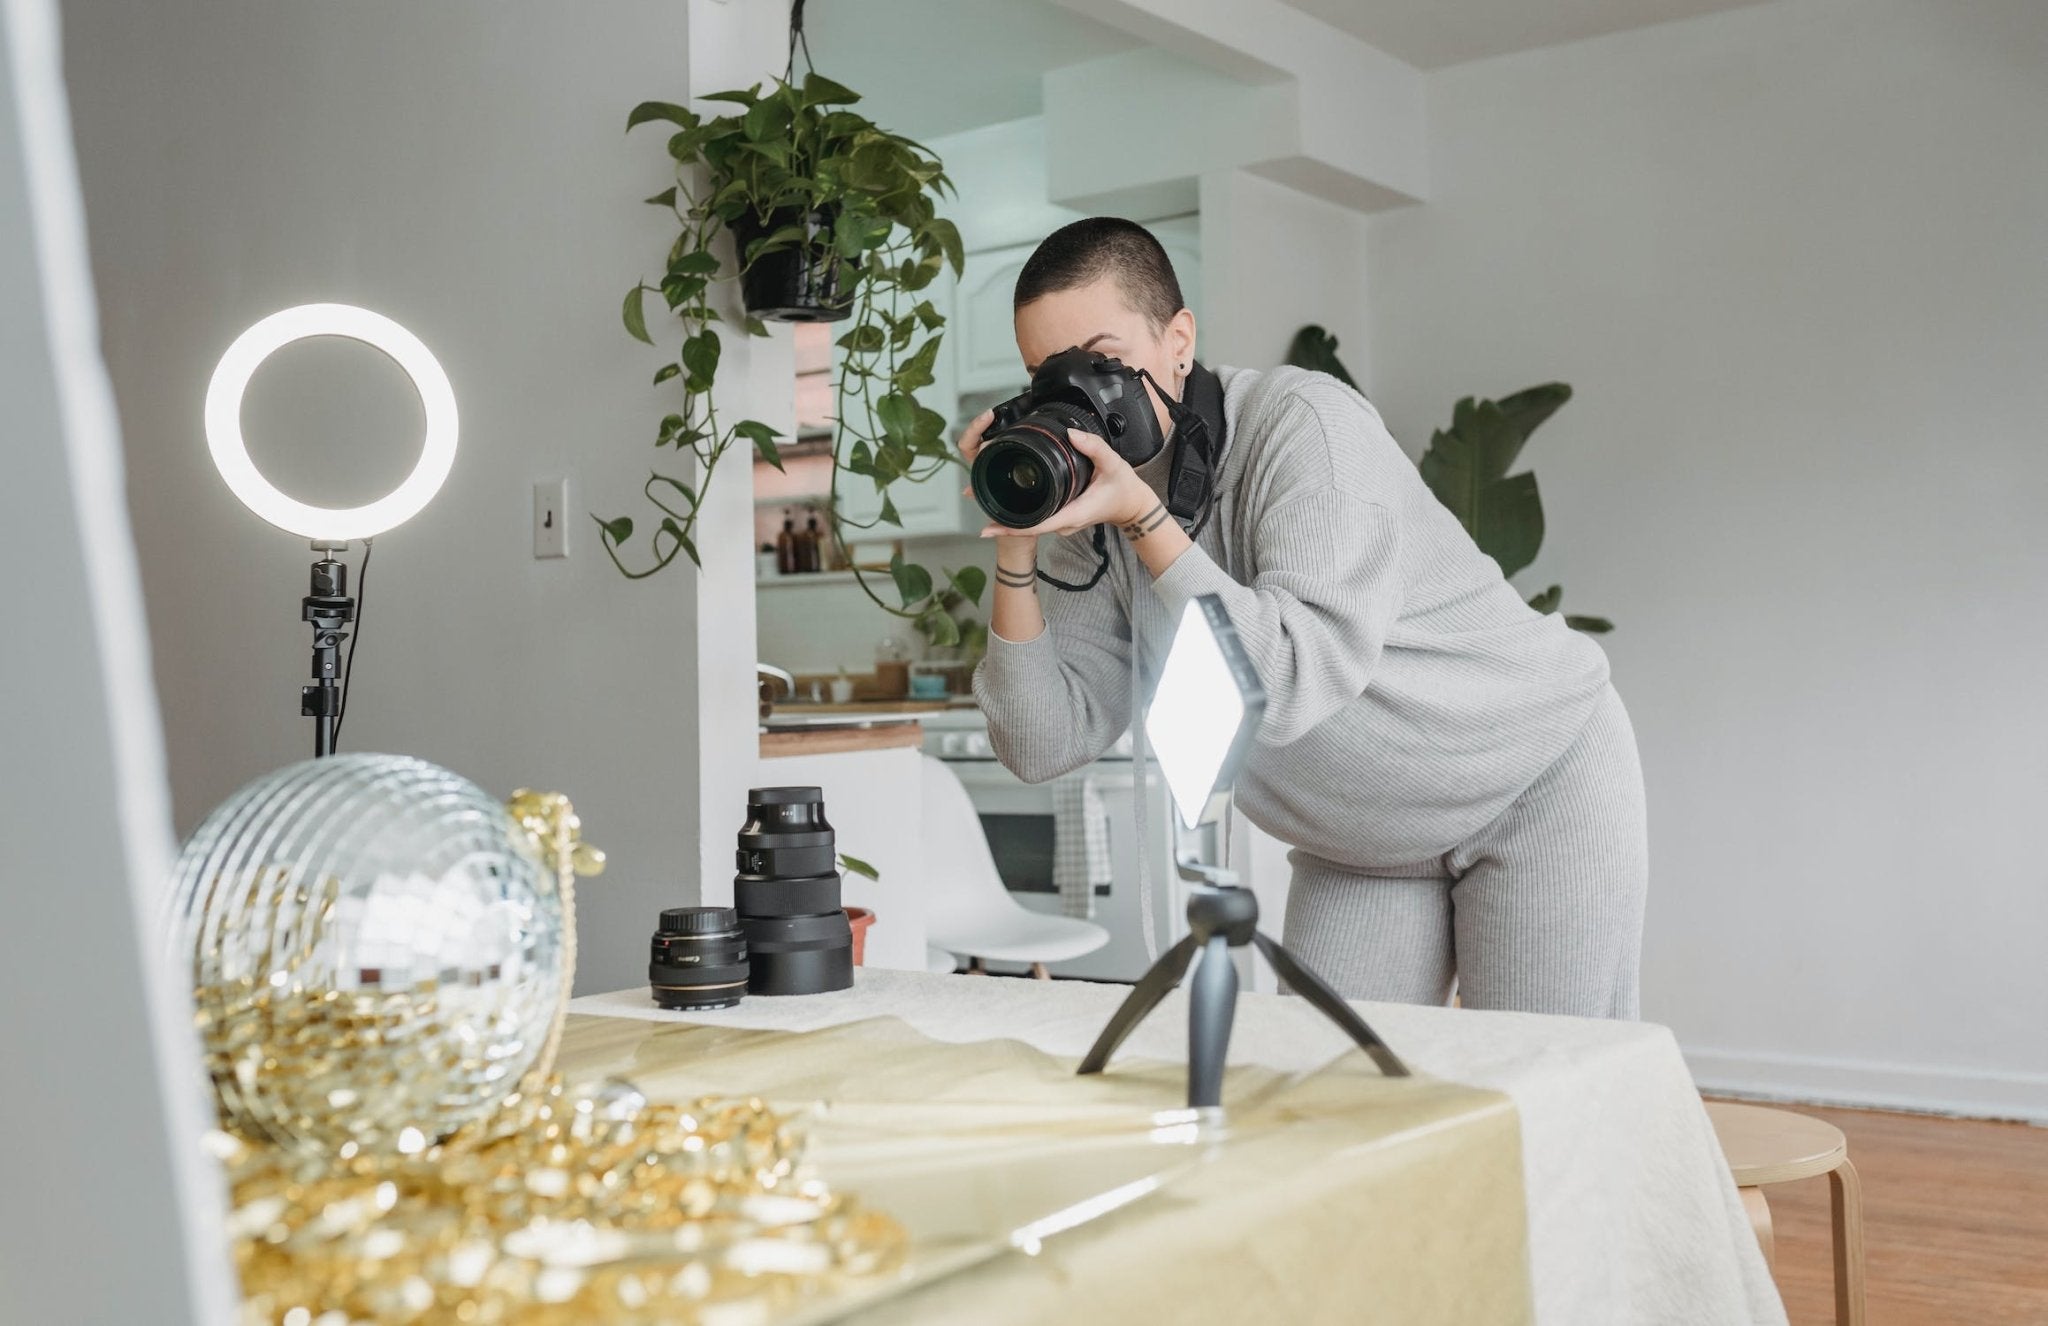
Ring lights are perfect for capturing detailed close-ups of products. They provide even, shadow-free lighting.
Benefits of Ring Lights
- Even Lighting: Eliminates shadows and highlights details.
- Versatility: Ideal for small products and close-up shots.
- Portability: Easy to set up and move around.
Using ring lights effectively can enhance your product photography.
Tips for Using Ring Lights
- Distance: Position the ring light close to the product for detailed shots.
- Angle: Experiment with different angles to find the best look.
- Intensity: Adjust the brightness to suit your product.
- Background: Ensure the background complements the product to avoid distractions.
Product Recommendation
- Neewer Ring Light Kit: 18" 48cm Outer 55W 5500K Dimmable LED Ring Light: Buy on Amazon.
4. Light Tents for Even Illumination
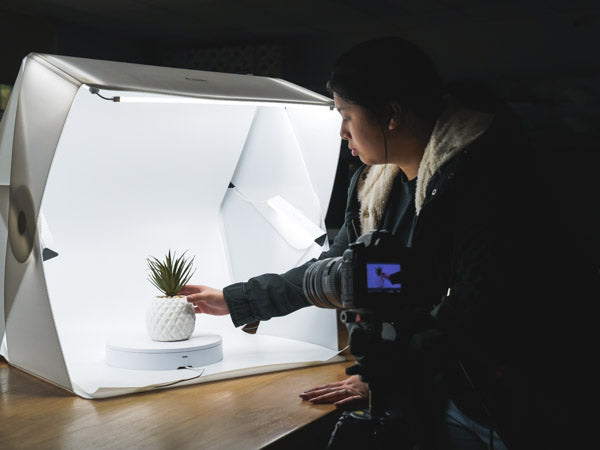
Light tents are excellent for achieving soft, even lighting, especially for small to medium-sized products.
Advantages of Light Tents
- Consistent Lighting: Provides uniform lighting from all sides.
- Reduces Shadows: Minimizes harsh shadows and reflections.
- Portable: Easy to set up and transport.
Learning to use light tents can greatly improve your product images.
Tips for Using Light Tents
- Placement: Place lights around the tent to ensure even lighting.
- Background: Use different colored backgrounds to make your products stand out.
- Camera Settings: Adjust your camera settings for the best exposure.
- Cleaning: Keep the tent clean to avoid unwanted spots and marks on your products.

Product Recommendation
- AmazonBasics Portable Foldable Photo Studio Box with LED Light: Buy on Amazon.
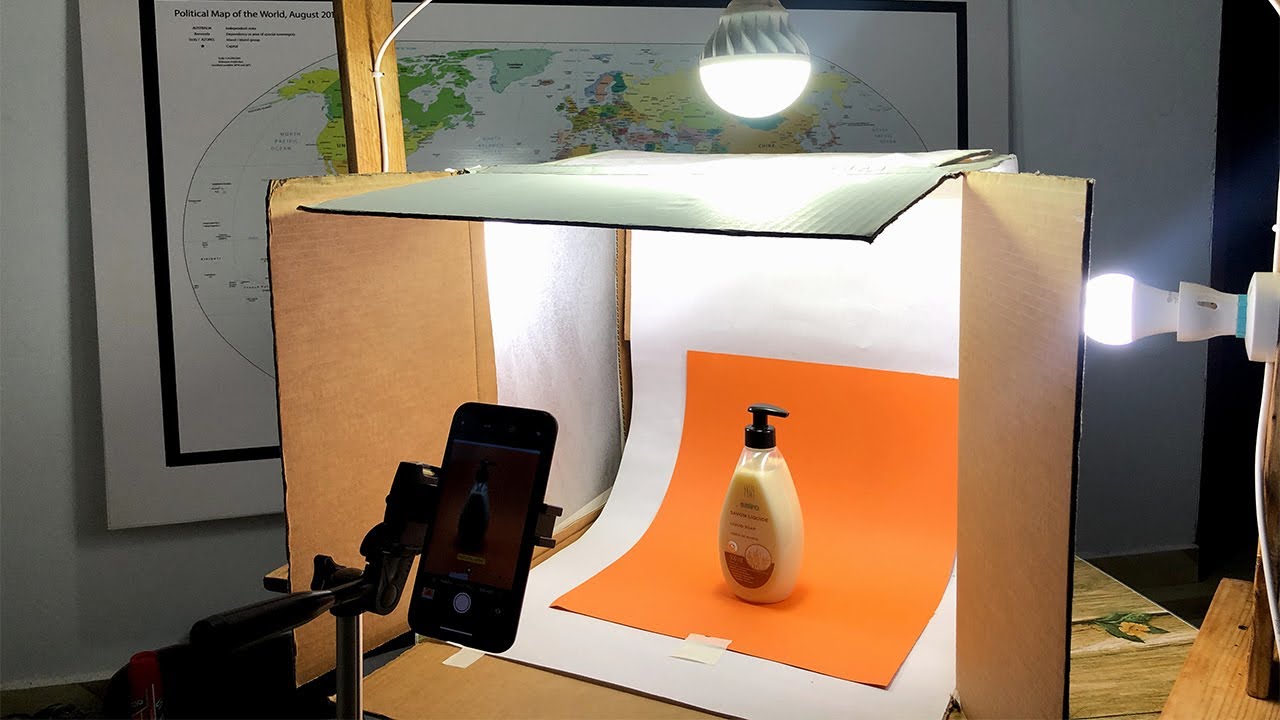
5. DIY Lighting Solutions

If you're on a budget, there are several DIY lighting solutions that can still produce professional results.
DIY Lighting Ideas
- Clamp Lights: Affordable and versatile lighting option.
- Foam Boards: Use as reflectors to bounce light.
- White Sheets: Diffuse harsh light for softer illumination.
Exploring DIY lighting options can be cost-effective and effective.
Tips for DIY Lighting
- Positioning: Place lights at different angles to find the best setup.
- Diffusion: Use diffusers to soften harsh light.
- Experimentation: Try different setups to see what works best for your products.
- Light Sources: Utilize multiple light sources to reduce shadows and enhance details.
Product Recommendation
- Simple Deluxe Clamp Lamp Light with 8.5 Inch Aluminum Reflector: Buy on Amazon.
- Elmer's Foam Board, Multi-Pack, Black/White: Buy on Amazon.
6. Color Temperature and White Balance

Color temperature and white balance are critical factors in product photography. They affect the color accuracy and overall appearance of your images.
Importance of Color Temperature
- Accuracy: Ensures the colors in your photos match the actual product.
- Consistency: Maintains a uniform look across all product images.
- Mood: Sets the desired mood and feel of the image.
Understanding color temperature is essential for product photography.
Tips for Adjusting Color Temperature
- Camera Settings: Use your camera's white balance settings to match the light source.
- Post-Processing: Adjust color temperature during editing if necessary.
- Gray Cards: Use a gray card to set a custom white balance for accurate colors.
Product Recommendation
- DGK Color Tools Optek Premium Reference White Balance Card Set: Buy on Amazon.
7. Continuous vs. Strobe Lighting
.webp)
Choosing between continuous and strobe lighting depends on your specific needs and preferences. Both have their advantages and can be used effectively in product photography.
Advantages of Continuous Lighting
- Ease of Use: What you see is what you get, making it easier to adjust.
- Consistency: Provides constant light, ideal for video and still photography.
- Learning Curve: Easier for beginners to use and understand.
Advantages of Strobe Lighting
- Power: Provides intense bursts of light, freezing motion and reducing blur.
- Control: Greater control over light intensity and duration.
- Flexibility: Can be used in various lighting setups and scenarios.
Comparing continuous and strobe lighting helps you choose the best option for your needs.
Tips for Using Continuous Lighting
- Adjustability: Use dimmable lights for better control over brightness.
- Multiple Lights: Combine several continuous lights for balanced illumination.
- Softboxes and Diffusers: Use softboxes and diffusers to soften the light.
Tips for Using Strobe Lighting
- Light Modifiers: Use softboxes, umbrellas, and reflectors to shape and control the light.
- Sync Speed: Ensure your camera's sync speed matches the strobe lights.
- Practice: Experiment with different strobe settings to understand their effects.
Product Recommendations
- Godox SL-60W Continuous LED Video Light: Buy on Amazon.
- Neewer Vision 4 300W GN60 Outdoor Studio Flash Strobe Lighting Kit: Buy on Amazon.
Final Thoughts
Natural light, studio setups, ring lights, light tents, or DIY solutions, each method has its benefits and can significantly enhance your product photos. Consider your specific needs and resources to determine the best lighting solution for your products.