
A photoshoot board is a key tool for any photographer. It helps you plan your shoot and share your ideas with clients. A photoshoot board can include images, colors, and notes about your vision. Using a photoshoot board makes your work more organized and professional. In this article, we will dig in to the top 12 ideas for your photoshoot board. We will cover how to create one, what to include, and how to use it for different types of photography.
1. Understand What a Photoshoot Board Is
A photoshoot board is a collection of images, colors, and notes that show the visual direction for a shoot. It helps you and your client agree on the look and feel before you start. This saves time and makes sure everyone is happy with the results.
- Key parts of a photoshoot board:
- Reference images that show the style you want.
- Color swatches to set the mood.
- Notes on lighting, props, and poses.
For a deeper look, check out this guide on photography moodboards.

2. Use Assembo.ai to Create Custom Backgrounds
Assembo.ai is a great tool for photographers. It lets you create custom backgrounds for your products. You can upload a product image and see it in different settings. This helps you plan your photoshoot board with exact backgrounds.
- How to use Assembo.ai:
- Upload your product photo.
- Choose from many background options.
- See the final image in seconds.
Learn more about Assembo.ai and its features.
3. Pick the Right Backdrop for Your Shoot
The backdrop is a key part of your photoshoot board. It sets the scene and affects the mood of your photos. You can use simple paper rolls or textured boards. The right backdrop makes your subject stand out.
- Backdrop options:
- Plain colored paper for a clean look.
- Textured boards for a realistic feel.
- Printed scenes for a specific theme.
Explore double-sided photography backdrops for more ideas.
4. Collect Inspiration Images
Start your photoshoot board by gathering images that inspire you. Look for photos with the lighting, composition, and mood you want. You can save images from websites or use your own previous work.
- Where to find inspiration:
- Photography websites and blogs.
- Social media platforms like Instagram.
- Your own portfolio of past shoots.
See how to save ideas for a client using visual tools.
5. Choose a Color Palette
Colors set the mood for your photoshoot. Your photoshoot board should include color swatches that show the palette you plan to use. Warm colors can feel cozy, while cool colors can feel calm.
- How to pick colors:
- Look at your inspiration images for color ideas.
- Use online tools to create a palette.
- Test how colors look together on your board.
Learn about using color swatches in your moodboard.

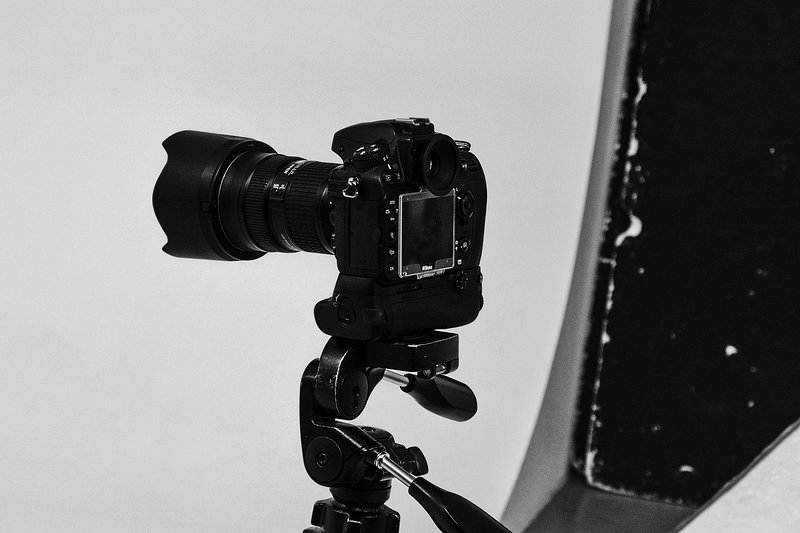
6. Plan Your Lighting Setup
Lighting is important for any photoshoot. Your photoshoot board should include notes or images about the lighting you want. This could be natural light from a window or studio lights with softboxes.
- Lighting options:
- Natural light for a soft, realistic look.
- Studio lights for full control.
- A mix of both for balanced results.
Find tips on how lighting affects your photoshoot mood.
7. Select Props and Accessories
Props add context and interest to your photos. Your photoshoot board should list the props you plan to use. This could include things like fabrics, utensils, or decorative items.
- Prop ideas:
- Simple items that complement your subject.
- Textured materials like wood or fabric.
- Brand-specific items for commercial shoots.
Get ideas from how props are used in product photography.
8. Use Digital Tools for Your Board
Digital tools make it easy to create and share your photoshoot board. You can use apps that let you drag and drop images, add notes, and collaborate with others. This is faster than physical boards.
- Popular tools:
- Milanote for visual planning.
- Bublup for organizing ideas.
- Pinterest for inspiration gathering.
Try creating a moodboard with Milanote.

9. Share Your Board with Clients
Sharing your photoshoot board with clients helps them understand your vision. They can give feedback and suggest changes before the shoot. This makes the process smooth and avoids surprises.
- How to share:
- Send a link to your digital board.
- Ask for specific feedback on colors and styles.
- Make changes based on their comments.
Learn about sharing mood boards with clients.
10. Create a Portable Setup
If you shoot on location, a portable photoshoot board is key. You need backdrops and props that are easy to carry. Look for lightweight boards that fold up and fit in a bag.
- Portable gear ideas:
- Foldable backdrop boards.
- Collapsible light stands.
- A bag that holds all your equipment.
Check out portable photography backdrops for travel-friendly options.

11. Add Shadows and Drama
Shadows can add depth and interest to your photos. Your photoshoot board can include ideas for creating shadows. This might involve using specific lights or props to cast shadows.
- Shadow techniques:
- Use side lighting for strong shadows.
- Place objects between the light and subject.
- Experiment with different shadow shapes.
See how shadow boards can add drama to your photos.
12. Review and Refine Your Board
Before the shoot, review your photoshoot board. Make sure all elements work together. Remove any images or ideas that don't fit. A clear and focused board leads to better photos.
- Review steps:
- Check that colors and styles match.
- Confirm all needed props are listed.
- Make sure the client approves the final board.
Get tips on refining your photography moodboard.
Final Thoughts
A photoshoot board is a key tool for planning your photography. It helps you organize your ideas and share your vision with clients. No matter if you're shooting products, portraits, or food, a photoshoot board makes your work better. Start with inspiration, choose your colors and props, and use digital tools to create your board. With these 12 ideas, you can create a photoshoot board that leads to great photos every time.