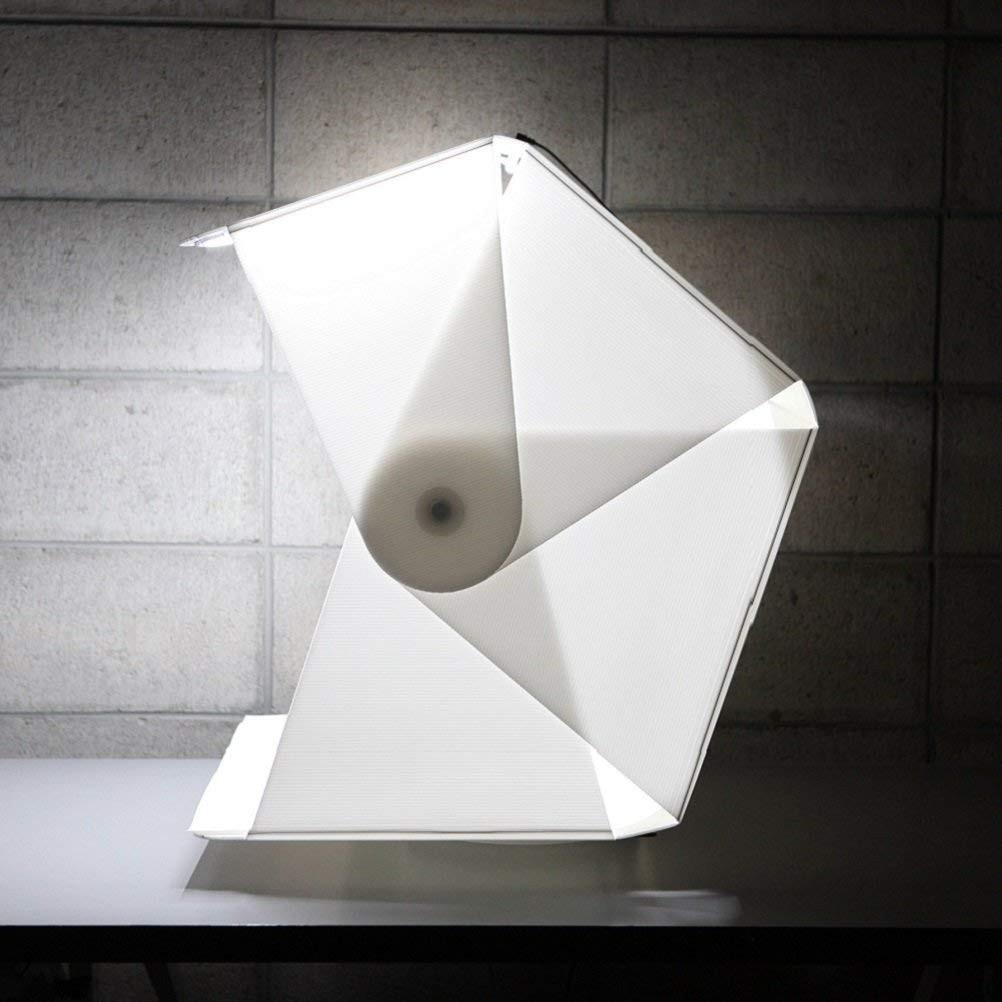
Capturing the brilliance of jewelry can be challenging, but using a light box can make a significant difference. Here are 5 essential tricks to ensure your gems dazzle in every shot.
1. Clean Your Jewelry Thoroughly
:max_bytes(150000):strip_icc()/ammonia-for-jewelry-cleaning-2042881-06-5adfd6112ab04181b63840e24f4a43ae.jpg)
Even the smallest speck of dust can be glaringly obvious in close-up jewelry photos. Learn how to clean your jewelry properly before photographing.
Cleaning Tips
- Use a Soft Cloth: Gently polish the surfaces to remove fingerprints and smudges.
- Ultrasonic Cleaner: For a deep clean, especially for intricate pieces.
- Avoid Harsh Chemicals: Stick to jewelry-safe cleaning solutions to prevent damage.
- Steam Cleaners: Effective for removing dirt and grime from hard-to-reach places.
Maintaining Cleanliness During the Shoot
- Wear Gloves: Prevent fingerprints by handling jewelry with gloves.
- Use Tweezers: For positioning small pieces without touching them.
- Keep a Cleaning Kit Handy: Have microfiber cloths, compressed air, and a small brush on hand for quick touch-ups.
Tool Recommendation: Magnasonic Professional Ultrasonic Jewelry Cleaner
The Magnasonic Ultrasonic Jewelry Cleaner uses ultrasonic waves to remove dirt and grime from intricate jewelry pieces, ensuring they are spotless for photography.
2. Choose the Right Light Box

Selecting the correct light box is the first step to stunning jewelry photos. Understanding the types of light boxes available can help you decide which is best suited for your needs.
Features to Look For
- Size: Ensure it's large enough to accommodate your jewelry pieces.
- Lighting: Opt for adjustable LED lights to control brightness.
- Portability: A foldable design can be convenient for storage and transport.
- Color Temperature: Choose a light box that allows you to adjust the color temperature. Cooler temperatures highlight diamonds and white metals, while warmer temperatures enhance gold and colored gemstones.
- Reflective Surfaces: Some light boxes come with reflective surfaces that can add extra sparkle to your gems.
Tool Recommendation: Foldio3

Foldio3 by Orangemonkie is a versatile light box with adjustable LED lights, a foldable design, and various background options. Its portability and high-quality lighting make it ideal for jewelry photography.
3. Adjust the Lighting

Did you know that good lighting can remove blurs? Adjust your lighting for optimal results.
Lighting Tips
- Diffuse Light: Use diffusers to soften shadows and reduce glare.
- Angle the Lights: Experiment with light placement to highlight facets and textures.
- Use Multiple Sources: Combining different light sources can add dimension and sparkle.
- Avoid Direct Light: Direct light can create harsh shadows and hot spots. Instead, bounce light off surfaces to create a softer, more even illumination.
Using Colored Gels
Colored gels can add a creative touch to your jewelry photos:
- Enhance Gemstones: Use gels to complement or contrast gemstone colors.
- Mood Lighting: Create a specific mood or atmosphere with warm or cool gels.
- Highlight Features: Use gels to draw attention to particular features of your jewelry.
Tool Recommendation: Neewer LED Light Panel
The Neewer LED Light Panel offers adjustable brightness and color temperature. It comes with diffusers and colored gels, making it perfect for jewelry photography.
4. Experiment with Different Backgrounds
.jpg)
The background you choose can significantly impact the overall appearance of your jewelry photos. Explore various background options to find the perfect match for your gems.
Popular Background Choices
- White: Creates a clean and professional look.
- Black: Enhances the sparkle of diamonds and gemstones.
- Gradient: Adds depth and interest to your photos.
- Textured: Gives a unique and artistic feel.
Background Material Options
Different materials can also influence the look of your jewelry:
- Paper: Simple and cost-effective. Available in various colors and textures.
- Fabric: Adds texture and depth. Velvet or silk can add a luxurious feel.
- Acrylic Sheets: Create a reflective surface that can make jewelry appear to float.
- Wood: Provides a rustic and natural backdrop, especially suitable for organic or earthy jewelry designs.
Tool Recommendation: Assembo.ai

Assembo.ai can generate any background you like in seconds, just give it a reference photo and wait for the magic to happen!
5. Use Reflectors and Bounce Cards

Reflectors and bounce cards help to manipulate light, filling in shadows and adding sparkle to your jewelry.
Reflector Tips
- White Cards: To soften and diffuse light.
- Silver Reflectors: For a brighter and more focused reflection.
- Gold Reflectors: To add warmth to your jewelry photos.
DIY Reflectors
You can easily make your own reflectors:
- Foil-Wrapped Cardboard: Simple and effective for reflecting light.
- White Foam Board: Ideal for diffusing light softly.
- Mirrors: Use small mirrors to direct light precisely onto specific parts of your jewelry.
Tool Recommendation: Neewer 5-in-1 Reflector
The Neewer 5-in-1 Reflector includes silver, gold, white, black, and translucent surfaces, providing versatile options for controlling and modifying light in your jewelry photos.
6. Focus on Composition

The way you arrange your jewelry in the light
box can greatly affect the final image. Improve on jewelry composition to serve your jewelry justice.
Composition Techniques
- Rule of Thirds: Position your subject off-center for a more dynamic shot.
- Leading Lines: Use lines to draw the viewer’s eye towards the jewelry.
- Symmetry: Perfect for capturing the balance and elegance of the pieces.
- Negative Space: Utilize empty space to highlight the jewelry and make it the focal point.
Styling and Props
Incorporate props to enhance your composition:
- Mannequin Hands or Busts: For displaying necklaces or bracelets.
- Ring Stands: Elevate rings to show their full design.
- Themed Props: Use flowers, fabric, or stones to add context and story to your photos.
Tool Recommendation: Comsoon Ring Stands
Comsoon Ring Stands provide a stylish and practical way to display rings in your jewelry photos. They come in various colors and designs to suit different styles.
Final Thoughts
Using a light box for jewelry photography can transform your images, making your gems shine with brilliance. By following these eight tricks and using the recommended tools, you can create stunning photos that truly showcase your jewelry's beauty.
