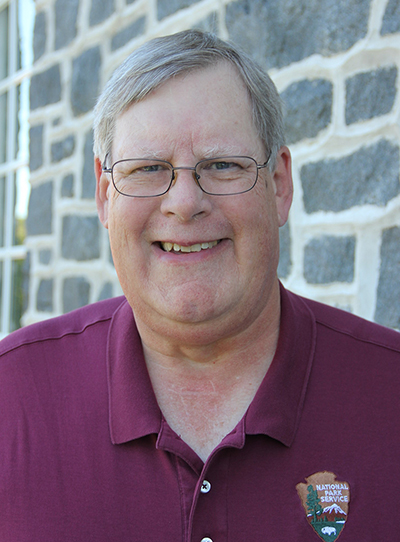
DIY professional headshots are a great way to get a polished look without hiring a photographer. No matter if you're updating your LinkedIn profile or need a quick headshot for work, these DIY professional headshots tips will help you create a professional image. With just your smartphone and some simple setup, you can take DIY professional headshots that look like they were done by a pro. Let’s dig in to the top 10 tips for DIY professional headshots.

1. Find the Right Lighting
Lighting is key for DIY professional headshots. Natural light is your best friend. Stand near a window with soft, indirect light to avoid harsh shadows.
- Key tips:
- Avoid direct sunlight to prevent squinting.
- Use a white curtain to diffuse light if needed.
- Try a ring light if natural light isn’t available.
For more lighting tips, check out this guide on natural light for headshots.

2. Use Assembo.ai to Create Custom Backgrounds
Assembo.ai is a great tool to level up your DIY professional headshots. Upload your photo and try different backgrounds to find the perfect look.
- How it works:
- Upload your headshot.
- Choose from professional backgrounds.
- Adjust lighting and colors for a polished finish.
Learn more about Assembo.ai’s features.
![]()
3. Choose a Simple Background
A clutter-free background keeps the focus on you. A plain wall or neutral space works best for DIY professional headshots.
- Background ideas:
- A white or gray wall.
- A well-lit outdoor area with a neutral backdrop.
- Avoid busy patterns or distracting elements.
For more background tips, see this article on headshot backgrounds.

4. Dress Professionally
Your outfit should match your industry. Stick to solid colors and avoid busy patterns for DIY professional headshots.
- Wardrobe tips:
- Wear what you’d wear to an interview.
- Avoid logos or distracting jewelry.
- Neutral colors work best.
Get more outfit ideas from this headshot wardrobe guide.

5. Master Your Pose
Good posture and a natural smile make a big difference in DIY professional headshots.
- Posing tips:
- Stand tall with shoulders back.
- Tilt your chin slightly down.
- Relax your face for a natural look.
For posing inspiration, check out these headshot examples.

6. Use a Tripod or Helper
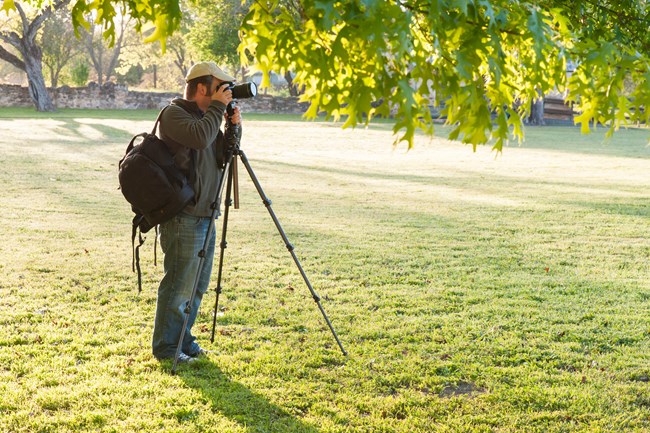
A steady shot is key for DIY professional headshots. Use a tripod or ask a friend to take your photo.
- Setup tips:
- Position the camera at eye level.
- Use a timer or remote shutter.
- Avoid selfies to prevent distortion.
Learn more about tripod setups for headshots.
![]()
7. Edit for a Polished Look
Simple edits can level up your DIY professional headshots. Adjust brightness, contrast, and sharpness for a clean finish.
- Editing tips:
- Use your phone’s built-in editor.
- Avoid over-filtering.
- Crop to focus on your face.
For editing tools, try this photo editing guide.

8. Take Multiple Shots
The more photos you take, the better your chances of getting the perfect DIY professional headshot.
- Shooting tips:
- Try different angles and expressions.
- Take at least 20-30 photos.
- Review and pick the best one.
Get more shooting tips from this headshot guide.

9. Pay Attention to Hair and Grooming
Small details matter in DIY professional headshots. Neat hair and grooming make a big difference.
- Grooming tips:
- Style your hair neatly.
- Avoid flyaways with a light mist of water.
- Check for shiny spots on your face.
For grooming advice, see this headshot preparation guide.

10. Get Feedback Before Finalizing
Ask a friend or colleague to help you pick the best DIY professional headshot.
- Selection tips:
- Choose a photo that looks like you.
- Avoid overly edited images.
- Pick one with a natural, confident expression.
For more selection tips, check out this headshot feedback guide.
Final Thoughts
DIY professional headshots are easier than ever with these tips. No matter if you're using a smartphone or a simple setup at home, you can create a polished and professional image. Try these ideas today and level up your online presence with a great headshot.
